I had an issue recently where I had to hard reboot my Video Doorbell Pro and because it has a battery it required me to pull if from the wall to get to the button on the back. Kind of annoying honestly that pulling A/C power doesn’t do it. That led me to getting ahold of a used Video Doorbell Pro and dissect it to get it running wired but without the battery (as the new V2 version does). Its pretty easy and now pulling power shuts it down and when power is reconnected it powers back up as it should.
Note, without the battery it cannot be powered through the micro USB connector. That is only used to charge the battery.
First, use something pointed to remove the small white screw covers (I have it circled in this picture). Their not glued in and will just pop right out. Then remove the screws. There are 6 total of each.
Now your going to use something sharp and flat (I used the blade of a small pocket knife) to pry between the cover and back starting at the end with the locking screw. This end dips down and gives more room to insert whatever you use. Not too far though; there is a rubber seal between them that can be cut. Insert the tool then pry the back up and away. It will only separate as much as in my picture. Your going to move on to the sides once it releases.
Two pictures here. The first (if the upload actually places them in order) shows the inside of the case with the back removed so you can see the long sides of the case where the little locking tabs are. They are circled in the second picture so you can see how they grab. to remove the back without breaking anything. Starting at the lock screw where you just popped up the back. Work your way around either side (only do one side). You will pull the side away from the back (as opposed to prying the back up). Pulling the side away will release these little clips. Basically insert the same tool in the smallest amount as you did before, but sort of twist it to separate the side from the back. There are only three tabs on whichever side you chose to do (I’ve circled them in red). Once they release that side will pop up and free allowing you to easily pull the back away from the other side.
Looking back at the picture from the previous step of the inside of the unit. Your going to unplug this connector. It’s a cheap little piece of crap so be gentle. Just rock it out one side at a time. Getting the battery out of the case it a PITA. There is some double sided tape holding the battery to the board on the back side of the doorbell button. Do not pry it or you will damage the side of the case where the seal is (ask me how I know). Just use your fingers to nudge it a little at a time from the top and then the bottom, then the top and the bottom. It will start to give and finally come out.
Once done you’ll end up with this. Now just reassemble it and hook it up to house power as per the instructions and Wala. you now have a unit that’s not constantly charging a battery and generating heat doing so for no reason and that you can reboot at the breaker instead of pulling it off the wall.
Hopefully the Wyze police do not mind me posting this. And also a reminder that I’m not promoting you doing this and your warranty will be voided if you do (just a little CYA for my well being).
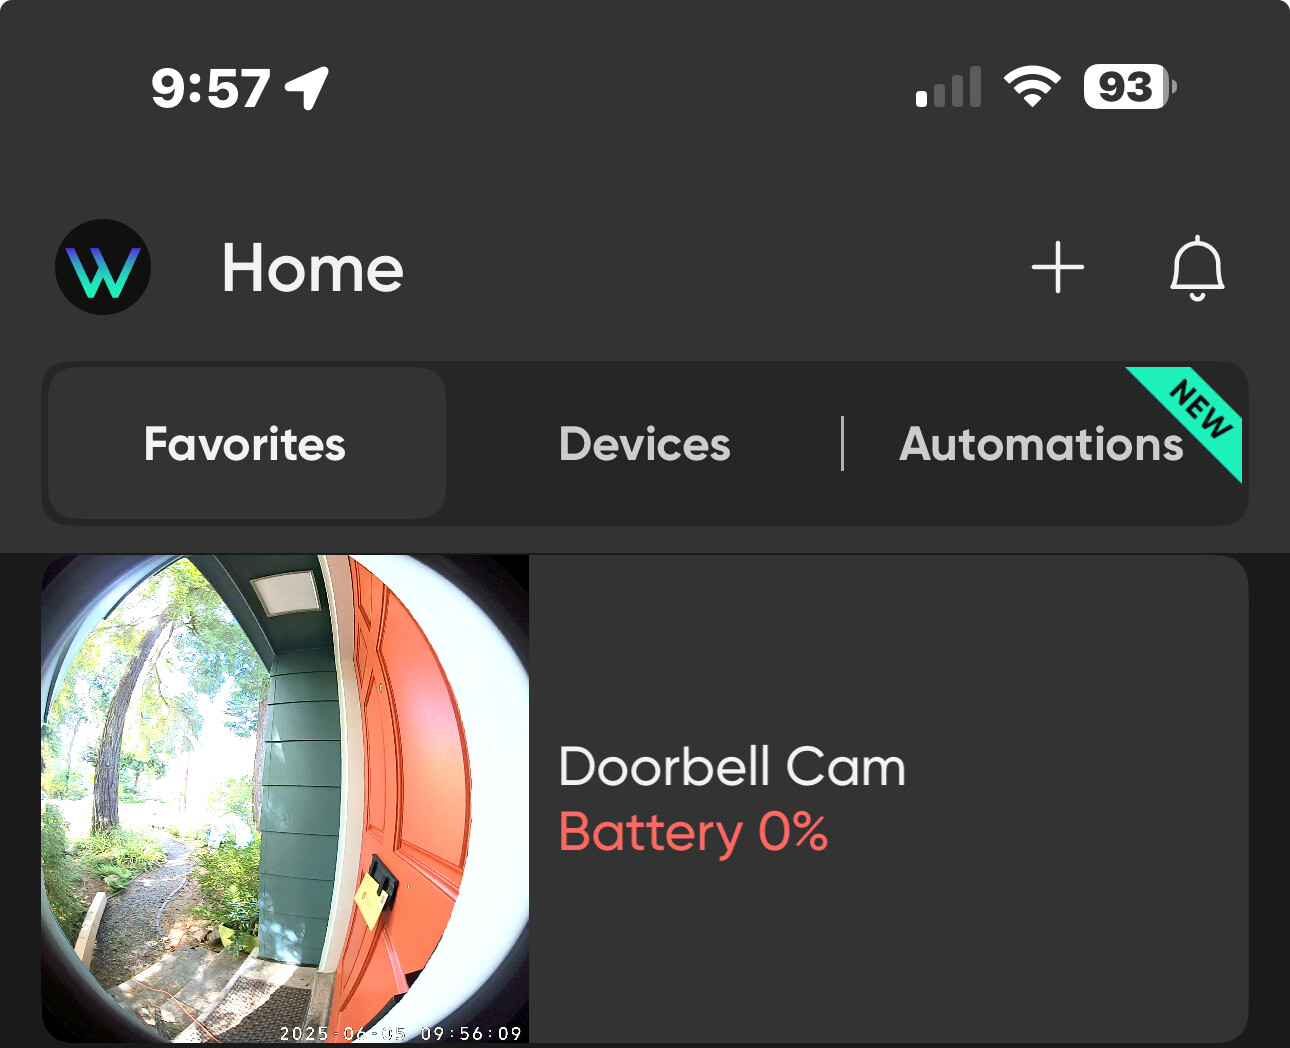
Excellent posting and the directions are spot on. I had a similar problem, battery just died. Although I knew that I could hard wire it, my existing doorbell wire was too short. So yesterday I followed your excellent step-by-step directions, removed my battery, tested the camera to make sure it would still work, and the went about “stretching” the existing doorbell wires. (Just added little pigtails to extend 5-6”.). After reinstalling the camera, sans battery, it’s working perfectly. It might be my imagination, but the app seems MUCH quicker pulling up the live video feed from this camera - almost instantaneously. The only downside
that I’ve identified is that I have a permanent “Battery 0%” warning message (in red) on my Wyze app Home Screen. See attached screenshot. Oh well, I was trying to avoid that….
Thanks much for the posting and detailed info. My unit died and for about $20 I replaced the battery and it all now works. I would add a couple of hopefully helpful things. One is that the 6 little screws were impossible to loosen at first. I couldn’t get the torque necessary to free them up. But attaching a small visegrip to the screwdriver I was able to easily get the force necessary to unfreeze them and then use a regular tiny screwdriver to continue the process. Another thing that I found, at first confusing was that I thought I’d need to remove the little screw that ‘locks’ the unit to the wall mount. It’s the screw that has an o-ring to prevent it from falling out. It just ‘looks’ like it needs to be removed, but it does not. However, it does need to be screwed in ALL the way so it does not catch on the plastic housing and preventing the back from being removed or being put back in place. Once the back is in place, turn that screw so it’s fully out (i.e. turn screw counter clockwise) and the unit can be placed back on the wall mount.
Lastly, to free the battery by hand was nearly impossible so I very gently used a wide flat-head screwdriver to start the release process, keeping in mind the guidance to be very careful not to apply too much pressure. Eventually the battery became loose enough that I could use the manual side to side process to finally release the battery. I found the battery on Amazon for about $20 (make sure you look for the correct battery model number) and it came with screwdrivers and a USB to battery adapter. It was handy to have the torqx screwdriver included as it was necessary to fasten the unit securely to the wall mount. But, you got a torx screwdriver as part of the package when you ordered the unit so hopefully you saved it. I wanted to update this to point out that the screwdrivers are necessary to disassemble the unit if you haven’t started. In that case they are very handy to have supplied. I had decided to open mine up to see if it looked like it did in the photos prior to ordering the battery. So, if you don’t have the right screwdrivers, they are supplied in the battery order ( Rechargeable Battery Compatible with WYZE Video Doorbell Pro, 3200mAh Battery Powered for Wyze Doorbell Outdoor Security(Include Screwdriver Set).