
If you use Android and have selected to enable the VOIP feature in the Account → Notifications → Push Notifications → Voice Over IP menu and you experience some issues, here are some Android Phone settings to check:
If the call never arrives:
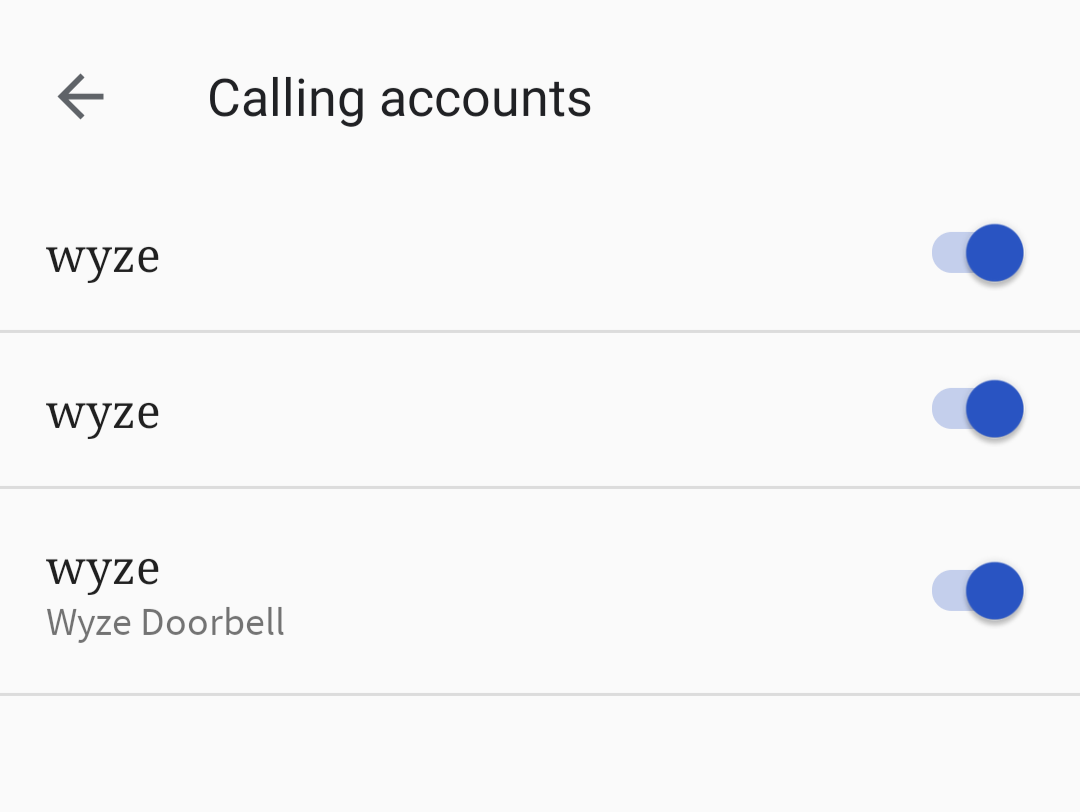
To facilitate the VOIP Video Call, the Wyze App installs a Virtual SIM Calling Account to your Android phone so that it can route the Video Live Stream from the Wyze App to your Phone App. Previously, this Virtual SIM was just named “Wyze”, but I have learned that it is now being labeled “Wyze Doorbell”.
It may be a bit different on your Android Version, so you may need to take a different path to the settings, but I found my new “Wyze Doorbell” Virtual SIM was disabled by default. I navigate to the SIM Calling Accounts by opening my Phone App, selecting the 3 Dot Menu icon, Settings, Calls, Calling Accounts, All Calling Accounts. There, verify that the Wyze Virtual SIM labeled “Wyze Doorbell” is enabled.
Insure that the “Ignore Notification Status” toggle has been enabled in the VOIP settings shown above. If you don’t want to use the “Ignore Notification Status” override, verify that Notifications are enabled for both the Doorbell and the App. Also verify that there isn’t a Schedule set in your VOIP settings or a Wyze Rule that could be turning off Notifications.
If, after enabling VOIP in the Wyze App, you get a “Choose SIM” popup message every time you try to make a call:

Since the Wyze Video Doorbell Virtual SIM that was installed is an internal Virtual SIM between the Wyze App and your Phone App that operates locally only on your phone, it can’t be used for any outgoing calls. The Phone App does not know that the Wyze Video Doorbell Virtual SIM is an app-to-app Virtual SIM and has no associated carrier.
You can select your carrier SIM and click the Remember box, but this saves your selection specific to the Contact you are calling. So, you would need to do it for every contact you call.
To designate your Carrier SIM for all calls you will make so you never experience the popup again, navigate back to the 3 Dot Menu of the Phone App, Settings, Calls, Calling Accounts. At the bottom, you will see “Make & Receive Calls” “SIM Card for Voice Calls”. It is most likely designated “Always Ask”.

Click that selection and select your Carrier SIM as the default SIM for outgoing calls.