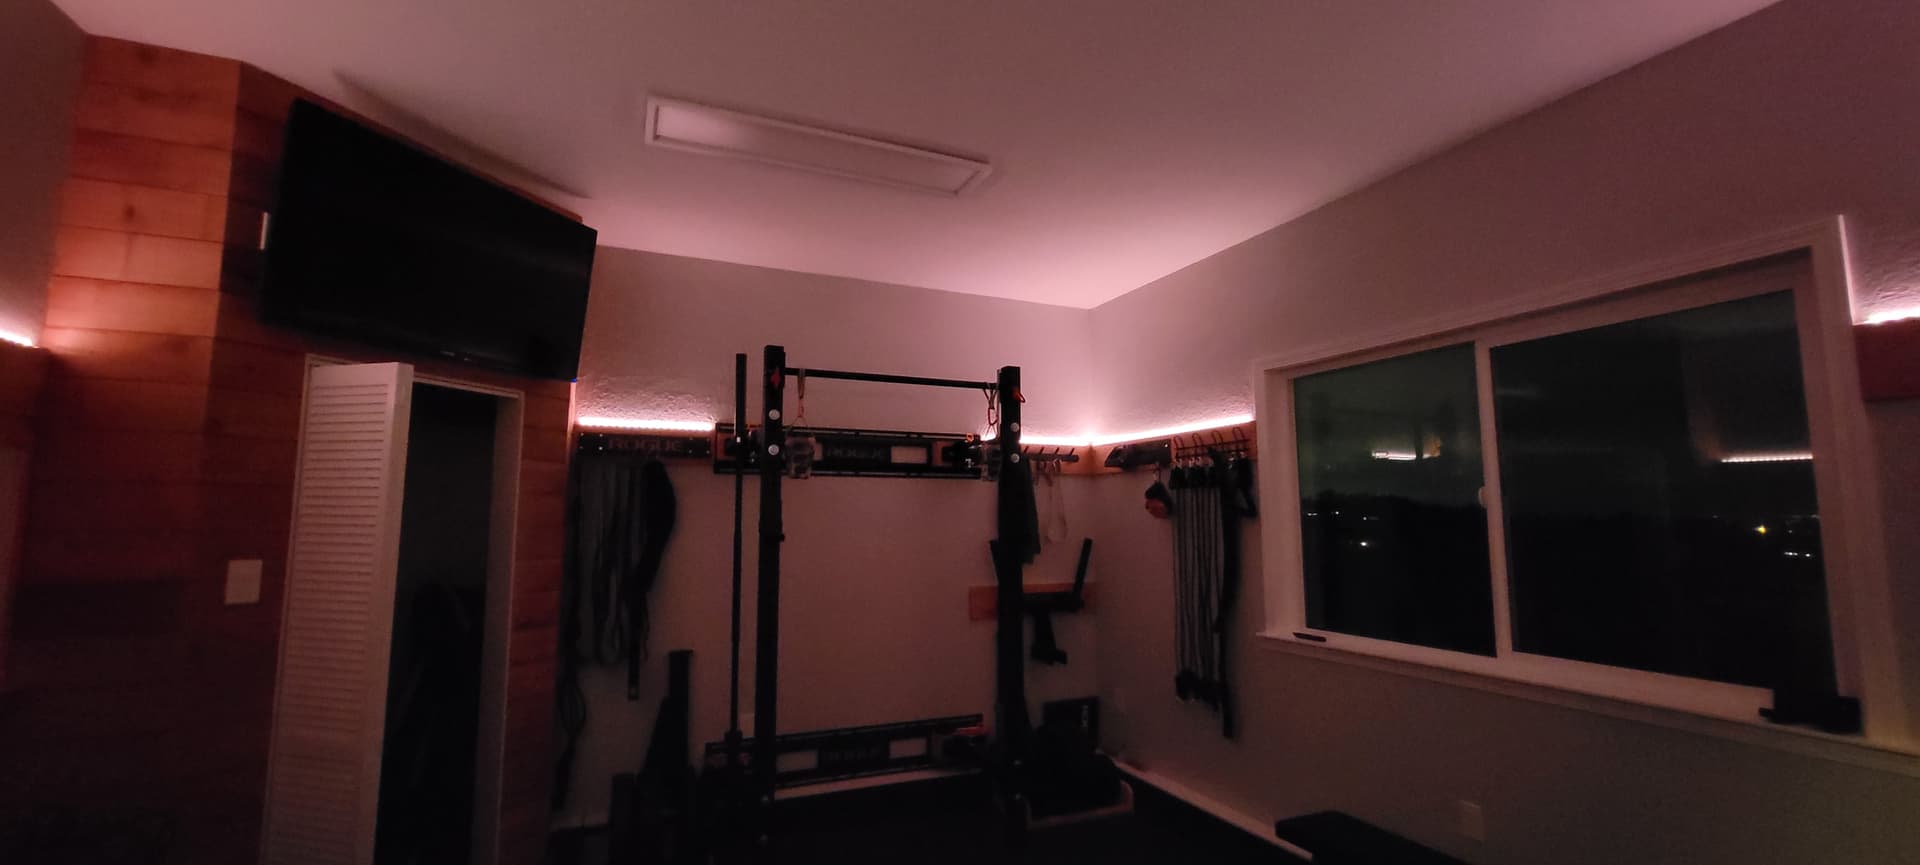
Here’s a picture to help show the layout.
Wyze light strip pro customizability
Please consider providing more connectors and adapters in the boxes, sell them separately, or have more length options to reduce the waste of this product. I only need half of a 16ft strip for my desired applications. The rest is useless and will end up in the trash unless I find some other way to salvage it and I don’t want to have to void any warrantee or risk destroying the lights by rigging it with non Wyze products.
Thanks for sharing this! I haven’t (yet) added any photos, but I added my input to a similar thread.
Thanks for all the info on this @PBRme and @Crease! One question I have to be sure …for this to work you are cutting off both of the existing connectors wyze puts on the wires when you receive it, is that correct? The one on the controller and the one on the end of the LED strip. I have the Pros, so I have three pins. Thanks!
I’m not quite sure what you’re asking with this question:
You’re question seems like you’re asking about clipping off and discarding something that’s part of the original Wyze product. Is that what you’re asking? I didn’t discard anything that was part of the original strip. The connector at one end of each strip allows you to plug the strip into the controller. Maybe you’re asking about something else?
In the other topic, I linked to the product I bought from Amazon and used with Wyze Light Strip, which is a 4-conductor (“4 pin”) style of strip. If I was trying to do it with Light Strip Pro (which you say you have), then I might consider trying the “3 pin, 10 mm” version, since I had good results with the “4 pin” style, but that would depend on my particular application and the effect I was trying to achieve.
Note when you look at the strips you can see the conductors roughly every 10 mm (4") with a icon marking the place where it’s okay to cut. I used this (the knowledge of how many 10 mm segments I had available) to help me divide and distribute the available LEDs across the under-cabinet areas I wanted to illuminate in order to get relatively even coverage for the desired effect. I used all of the available strip material (2 of the 10 m Light Strip [not “Pro”]) and made cuts only at the indicated places. At least one of those cuts involved cutting across existing soldering points where two strips were joined during manufacture, but I was still able to use the solderless connectors and 4-conductor wire to join the segments as I wanted.
I don’t know if this answers your question or not. If you have specific questions about your particular application, then feel free to share those.
Hi @Crease , Yes I was talking about cutting the original plugs. Basically I am trying to have the start of the strip start further away from the plug and controller module. So I don’t need to extend or bridge my strip at all, I just need to get it further away from the source. But to do that I would need to cut the Wyze 3-pin connectors, and extend it there before the strip actually starts.
Looking at the proximal end of a Light Strip Pro (where it connects to the wire coming out of the controller module), I see solder points through the epoxy coating where the strip enters the connector, so I suppose it would be possible to cut through the strip at that point and then solder 3-conductor wire directly to the connector. You could then extend the wire to your desired length (within some limit, and I don’t know what that length limit would be) and solder it to the strip or use the solderless connectors as mentioned before. I imagine that could work, but I haven’t attempted it.